
In honour of Earth Week I have two great websites (programs) to share with you and a great opportunity to try out Minecraft Frozen Planet with a free online live lesson from Cobblestone Collective.

I used to have the Sierra Club come in and do amazing workshops with my classes (for free) when I worked at NIDES and I loved it. They also offer online learn to draw lessons which I hear are fabulous (thank you Christa for sharing this) and they combine Art, Science and the Indigenous ways of knowing.
Check out their K-8 School Programs here: School Programs
Sign up for their newsletter here: Click here then scroll down to sign up
Find the cool Drawing lessons here: Drawing lessons

BC Hydro has awesome lesson plans, activities and free stuff for teachers (thank you Mallory for sharing this).
You can check out their Earth Week lessons (and challenges with prizes) until April 22nd here: Earth Day Activities
Check out their other activities and lesson plans here: Power Smart for Schools
I hope everyone had a relaxing and fun Spring Break and that you are all recharged. Right before the break I watched a Canva presentation about their new features and I have been waiting to tell you about them. They are so awesome-you are going to freak out! Canva has used AI to create what they are calling AI Magic! Visit Canva using your free account to try them out. Most of these features have a link on the front page to try them.
New Features in Canva:
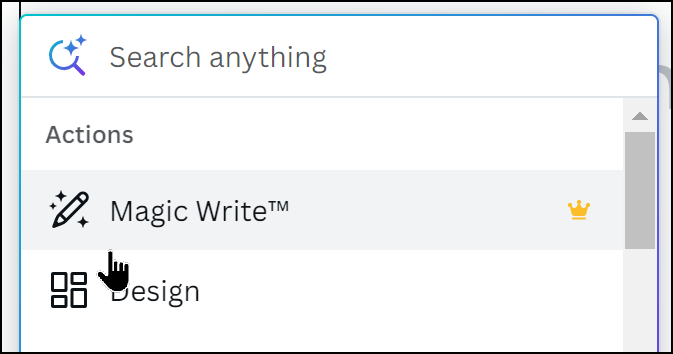
1. Magic Write – Explain what you would like written and let Canva write it for you. This feature is not available in student accounts. It is available in all of your Canva design projects though. Let it write your poems, speeches…
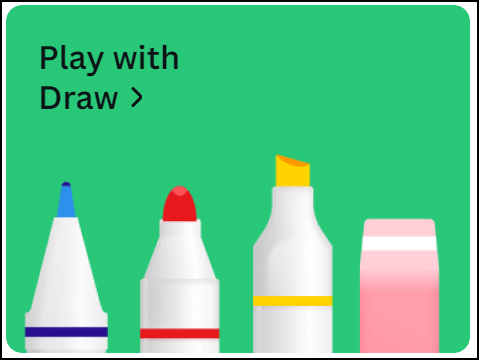
2. Magic Draw – You can now do freehand drawing on your designs and more excitingly you can draw when you use the group Whiteboard. Shape assist will help you make perfect shapes. The Whiteboard feature is great for brainstorming and for students to create Mindmaps!
3. Magic Design – Start by uploading an image and look at the designs that Canva creates for you to help you get started.

4. Magic Presentation – Describe your presentation topic and let Canva create it for you! Then you can tweak it by changing the style and colours. I asked it to create a presentation on how to use Canva in High School Education and it created this: Kara’s Magic Presentation
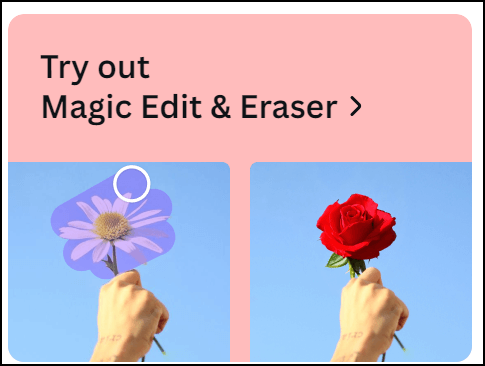
5. Magic Edit and Eraser – this is my favourite! You can change part of an image by brushing over it and telling it what you would like to have there. In the picture they share they change a daisy to a rose in a hand!
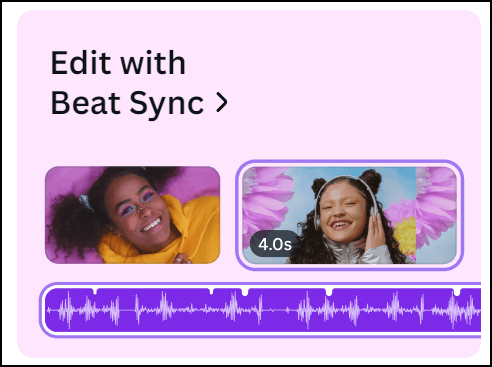
6. Beat Sync – create a video in Canva then Canva will add the music that syncs perfectly with your video! It really does seem like magic!
7. Text to Image – Describe the image you would like and it will create it for you. To find this one you need to click on Apps on the left and choose Text to Image.
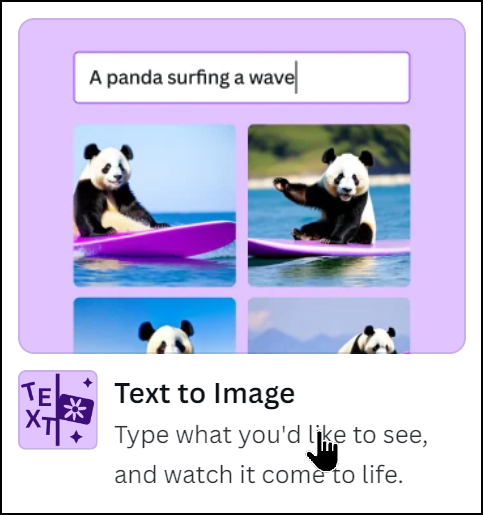
8. Create an Animation – Just choose an element that you would like to move, drag it across your screen to make a path and it will move during your presentation or video.
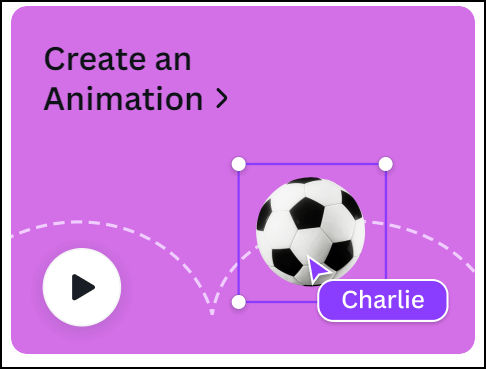
There are a whole bunch of other new features as well like Translate, magic resize, bulk create, layer and gradients but these are some of my favourites. You can watch the highlights of the presentation that I watched by clicking here.
Who said Easter Eggs are just for kids? Google Easter eggs are hidden messages or features that can be found on the Google search engine or other Google products. They are a fun way to engage students and add a bit of humor to your class. They are also a bit more fun than the T-Rex game we see kids play when the internet is down.
Here are my favourite ten Google Easter Eggs (yes there are more). Most of these work better if you start from the Google home page (https://www.google.com/):
-
- Barrel roll – Type “do a barrel roll” into the Google search bar and watch the page spin around.
- Google Snake Game – Type “Google Snake Game” into the Google search bar and click on the “Play Snake Game” button that appears at the top of the search results. This will take you to a classic game of Snake that you can play right in your browser.
- Google gravity – Type “Google gravity” into the search bar and click on “I’m Feeling Lucky” and watch the Google homepage fall apart.
- Google sphere – Type “Google sphere” into the search bar and click on “I’m Feeling Lucky“then watch the Google homepage turn into a 3D globe.
- Atari breakout – Type “Atari breakout” into the Google image search bar and click on “I’m Feeling Lucky” then play a game of classic Atari breakout.
- Blink HTML – Type “Blink HTML” into the search bar and scroll down to watch the search results blink.
- Askew – Type “askew” into the search bar and watch the page tilt to one side.
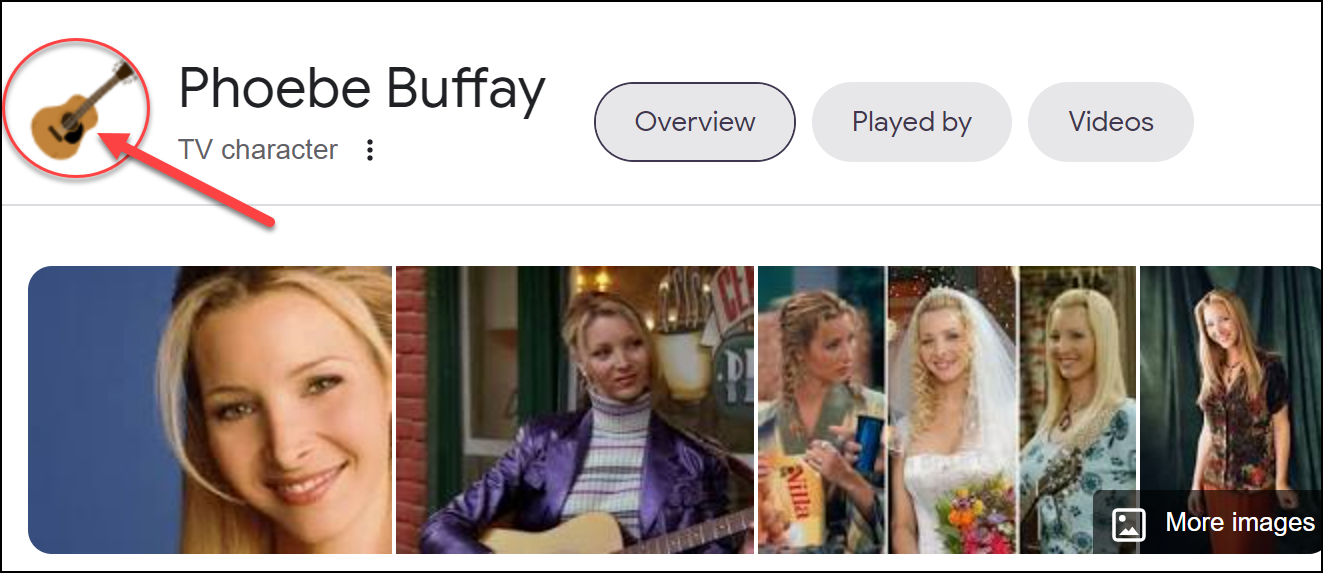
- Friends – This one is for fans of the classic show Friends. Type in the name of any of the main characters, then click on the image to the left of their name:
- Google in 1998 – Type “Google in 1998” into the search bar and click on “I’m Feeling Lucky“ then see what the Google homepage looked like in its early days.
…and last but definitely worth checking out…
- Cha Cha Slide – Type in “Cha Cha Slide” and click on “I’m Feeling Lucky“ then click on the microphone you see at the top right. This one is super fun! Go through the whole song and have your class do the movements 😊