Setting up Your First Class in SpacesEDU
Before you get started you should rename your class and set up some of the features. You can go in and change these any time.
Click here for a printable copy of these instructions.
You should get an email invite which you click on to load your class.
Open the Edge browser and click on MyApps (either on your first page or under SD71 Bookmarks in the top right). Then click on the Spaces icon. Or you can go to www.spacesedu.com to log in. Select Canada as your region. Login using your SD71 email.
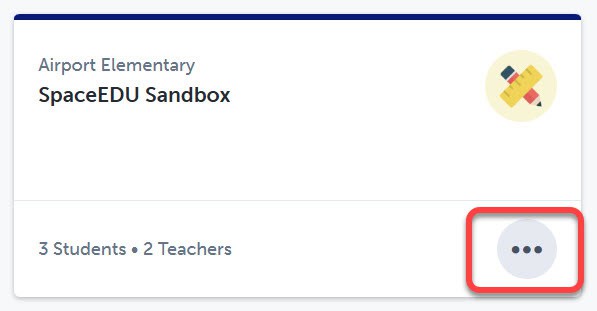
Click on a class that has been created for you. (It will have your students automatically added to it). Edit Class to change the Name, Class Avatar, Class Settings and Family Activity Notifications.
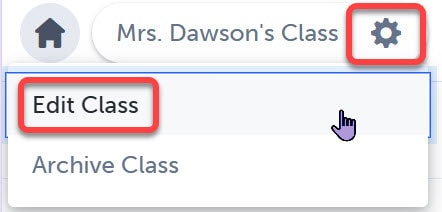
- Click on the “…” then on “Edit Class”
- Click on “Edit Class Avatar” to change the class icon
- Change Class Name
- You can’t change the grades as they are set when your class is imported
- Use the “toggles” to change
Class Settings
Curriculum Tags & Pinned Tags
Family Activity Notification Settings
Click here for an explanation of notifications.
- Save Changes
NOTE: You can also edit the class once you’re in the class by clicking on the “Settings Icon” on the top left of the window.
Resources:
How do I create a class? | SpacesEDU Help Centre